
Account Setup Instructions
Hello, friend! Thank you for purchasing the Adaptis kit. The following instructions will help you get started with using the Starlink terminal.
No items found.
Let's start
Usually, the setup process takes no more than 5 minutes.
Carefully check the availability of everything necessary before starting the setup:
- Backup internet connection (mobile data, wifi).
- Email for registration.
- Bank card with sufficient balance for payment deduction.
- Adequate internet limit for the payment deduction ($95).
- "Starlink" application from AppStore or Google Play.


Step-by-Step Guide
- Connect your Starlink to the power source. Turn it on.
- Connect to the wifi network based on your settings:
Adaptis SK
STARLINK
STINKY
- Open the application and wait for the terminal to connect to satellites. Sometimes, the initial setup may take 15 minutes (Be patient – it's reaching out to space and waiting for a response).
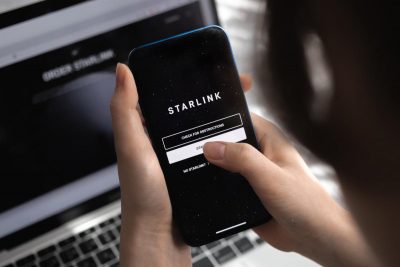
- You will receive a message about the absence of an account:
NO ACTIVE ACCOUNT
- Press this message.
- In the window that appears, copy the data in the following format: "00000000-123ADPTS-B1C2D000."
- Save the copied data.
- Disconnect from the WiFi network.
- Go to https://www.starlink.com/activate
- Paste the copied data into the field you see.
- Click "NEW ACCOUNT."
- In the next step, under "Service Address," enter the city of your permanent residence, choose the correct option from the dropdown list, and click "Search." For example, Lviv. As a result of the search, available Service Plans for the selected region will be displayed – Choose “Roam”.
⚠️ “Roam” Plan.
If you plan to use the equipment in a car or change its location frequently, the 'Residential' plan may not be suitable for you. Therefore, choose the 'Roam' plan.
- "Press the 'Continue Order' button.
- Provide contact information and your address:
- Enter your name and surname in Latin.
- Phone number in the format +380.
- Valid email address.
- After the country selection field, provide:
- Street and, importantly, house number.
- The next line is for additional information (but it's optional).
- Second to last line - City of residence.
- Last line - Region.
- Enter payment card details:
- Name and surname in Latin, as mentioned above. This is important!
- Postal code of your residence.
- Card expiration date.
- CVV code.
- After pressing the 'Place Order' button, the system will automatically attempt to debit your card. Confirm the payment.
⚠️ Two-Factor Security
Banks in Ukraine typically send you messages for additional payment confirmation. This can be an SMS or a form within the application with a 'Confirm' button.
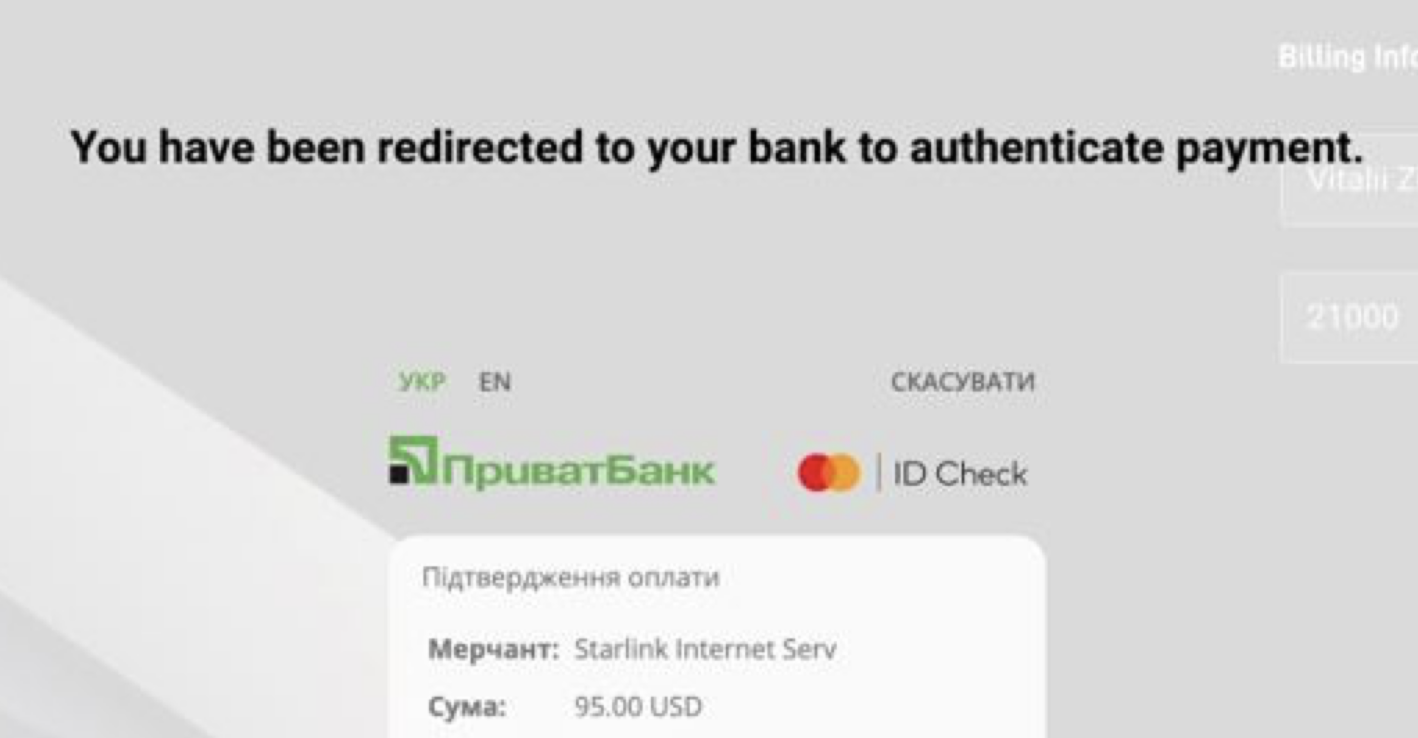
The request will explicitly mention an attempt to debit 95 USD.
- At the final step, you will need to set a password to access your account.
⚠️ Password Rule
Please use a unique password that differs from passwords used for other services. Ensure to securely store it.
- Tip: Share access passwords with a trusted person, and write a contact phone number on the equipment.
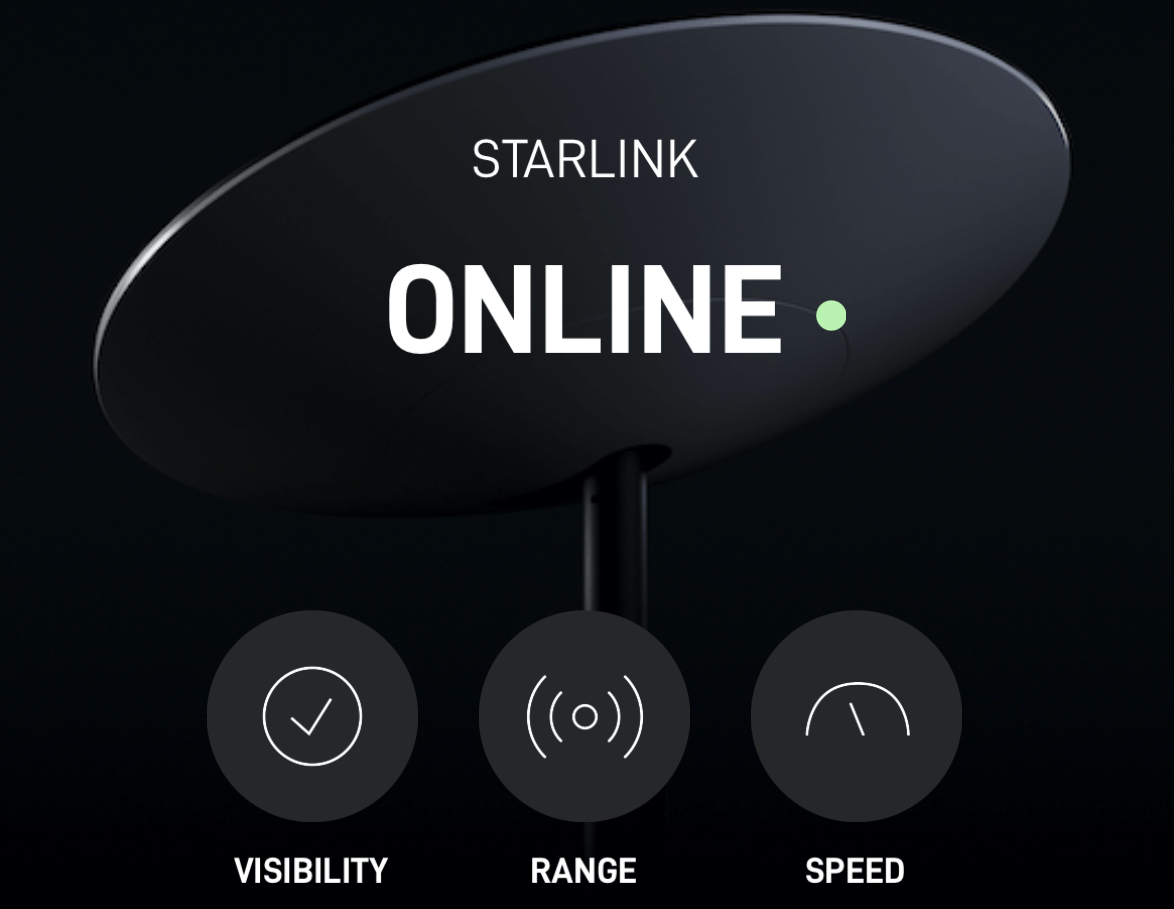
- Turn on your Starlink terminal and wait for approximately 15 minutes.
- If you've correctly followed all the steps, the terminal will switch to ONLINE mode!
Congratulations. Enjoy using it!
FAQ
- When entering the card number, an error occurs, stating that it is declined.
The card you provided is already linked to another Starlink account. Use a different card.
- Starlink's anti-fraud system may flag your bank card for various reasons. Try a card from a different bank.
- Temporary glitches from SpaceX may sometimes occur, and in such cases, waiting a few hours before the next attempt is recommended.
Be cautious; repeated attempts might result in a permanent ban.
- Device already assigned.
It appears that you received a terminal already assigned to an account. Contact your Starlink terminal seller. You may be provided with login credentials.
- Can I add another terminal to an existing Starlink account?
Yes, during the account selection step, choose "EXISTING ACCOUNT." The system will prompt for the login and password for access to this account. All other steps will remain the same.
- How many Starlink terminals can be added to one account?
Company rules allow adding up to three units to a single account (the previous limit was set at 10 units).
- Why is it better to register with the full serial number instead of the KIT number?
There is a slight chance of confusion with equipment, which occurs once in a few thousand terminals. This can happen on the manufacturer's side and also during order processing and delivery by logistics companies.
Thank You!

Adaptis — satellite communications for cars
MANUFACTURE AND HEADQUARTERS
Kyiv, Arkhitektora Verbytskoho st. 1phone
(073) 169-00-00email
welcome@adaptis.me