

Instructions for adding several users to one account
Congratulations, friend! The following instructions will help you correctly transfer the Starlink terminal to a new user, or re-register it from another country to Ukraine.
No items found.
⚠️ No more than three! SpaceX's account management system allows you to add up to three Starlink kits to your account. With a rare exception, you can connect 5 sets (which, most likely, is a technical failure in the system). Until December 2023, the limit was 10 terminals in one account. Please complete all the listed points. If you have questions or find inaccuracies in the document, leave a comment right here. We will correct and expand this guide.
Let's start
Usually, the setup process takes no more than 5 minutes.
Carefully check that you have everything you need before starting the setup:
- Backup connection to the Internet (mobile Internet, wifi)
- Email and Password of the existing account
- A bank card with a sufficient balance for withdrawing funds
- Sufficient internet limit for debit payment ($95)
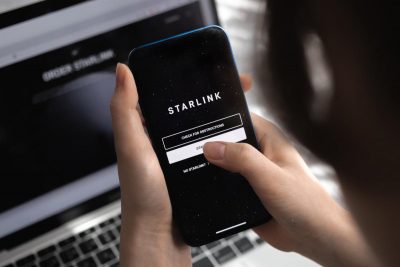
- "Starlink" application from AppStore or Google Play:


⚠️ Gentle Ukrainization from SpaceX:
Change the interface language to Ukrainian in the settings of your mobile phone and the Starlink application will also be in Ukrainian.
Step-by-step instructions
- Connect your Starlink to the mains. Turn it on.
- Connect to a wifi network depending on your settings:
- Adaptis SK…
- STARLINK
- STINKY
- Enter the Application and wait for the terminal to connect to the satellites. Sometimes, the first activation takes 15 minutes (A little patience - it knocks in space and waits for a response).
- You will receive a message about the absence of an account:
NO ACTIVE ACCOUNT

- Click on this message.
- In the window that appears, copy the data specified in the following format: “00000000-123ADPTS-B1C2D000”.
- Save the copied data.
- Disconnect from WiFi.
- Follow the link https://www.starlink.com/activate
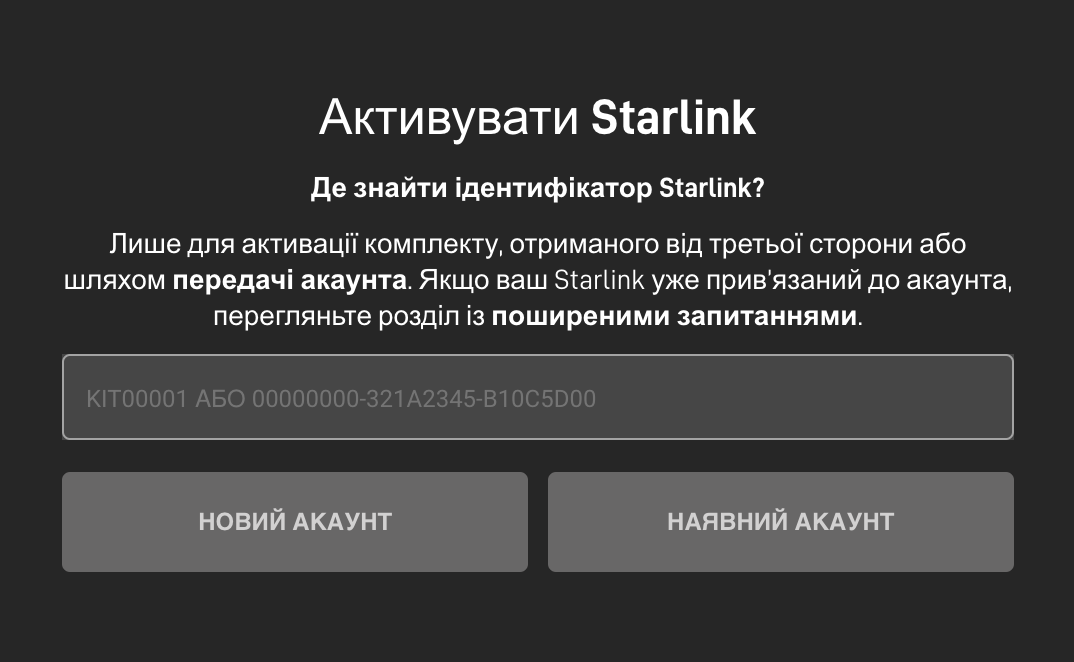
- In the field you see, paste the copied data.
- Click “EXISTING ACCOUNT”
- The system will prompt you to enter the login and password of the existing account.

- In the next step "Choose "Service", indicate the city of your permanent residence, choose the correct option from the drop-down list. Click the "Search" button

As a result of the search, you will be shown available Tariff plans for the selected region - Select "Traveling".
⚠️ "Traveling" tariff.
If you plan to use the equipment in a car, or change its location, then the "Domashnyi" / "Residential" tariff will not suit you. Therefore, choose the "Traveling" / "Mobile Regional" tariff.
- Click the "Continue checkout" button
- Enter your payment card details (* This step does not always happen)
- Enter the first and last name in Latin, just as it was indicated above. It is important!
- Postal code of your residence.
- Card validity period
- CVV
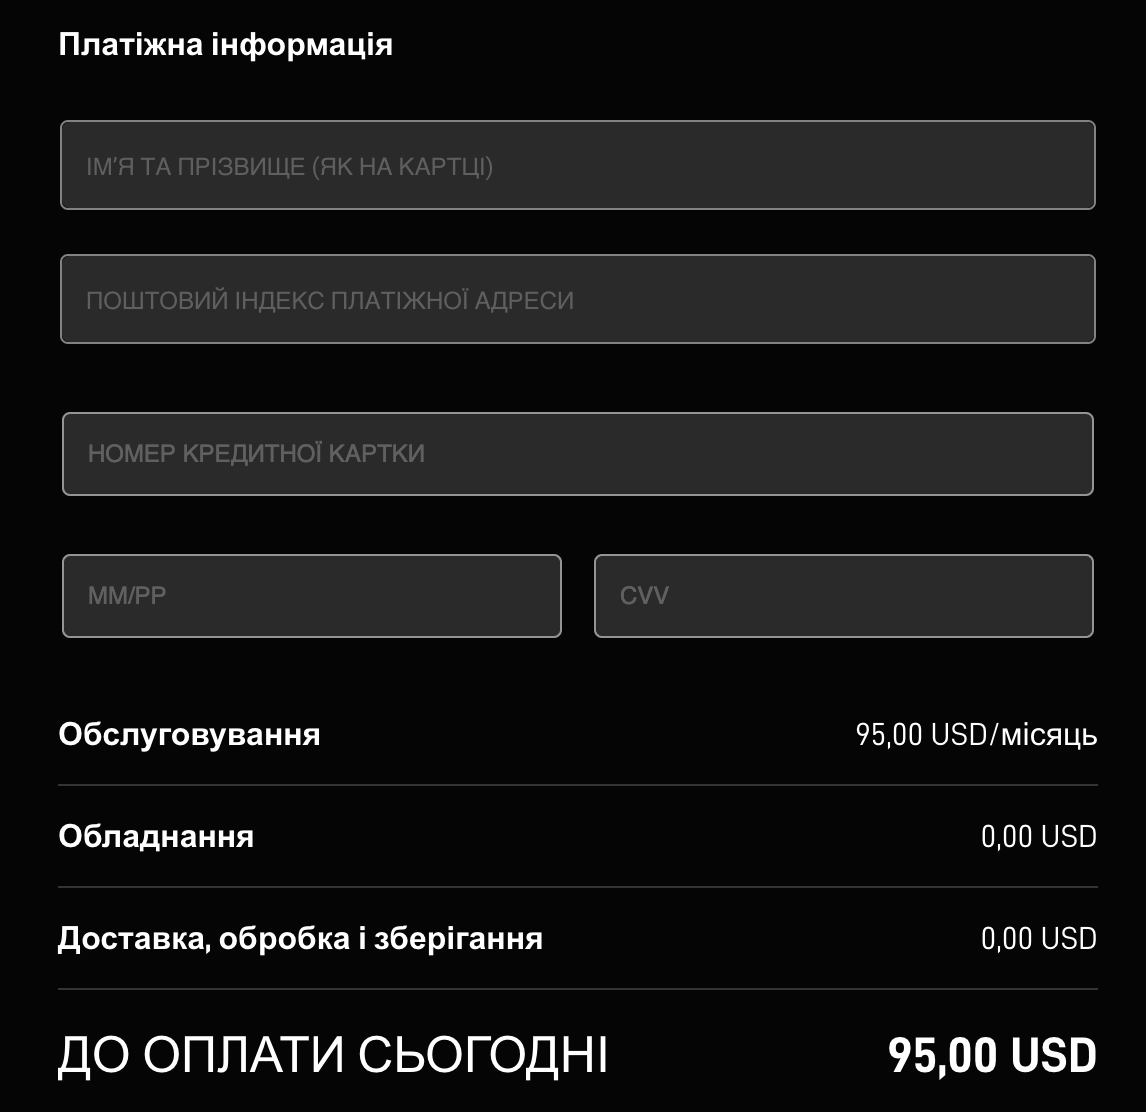
- After clicking the "Place order" button, the system will automatically attempt to debit your card. Confirm payment.
⚠️ Two-factor security
Banking institutions in Ukraine will usually send you a message for additional payment confirmation. It can be an SMS or a form in the application with a "Confirm" button.
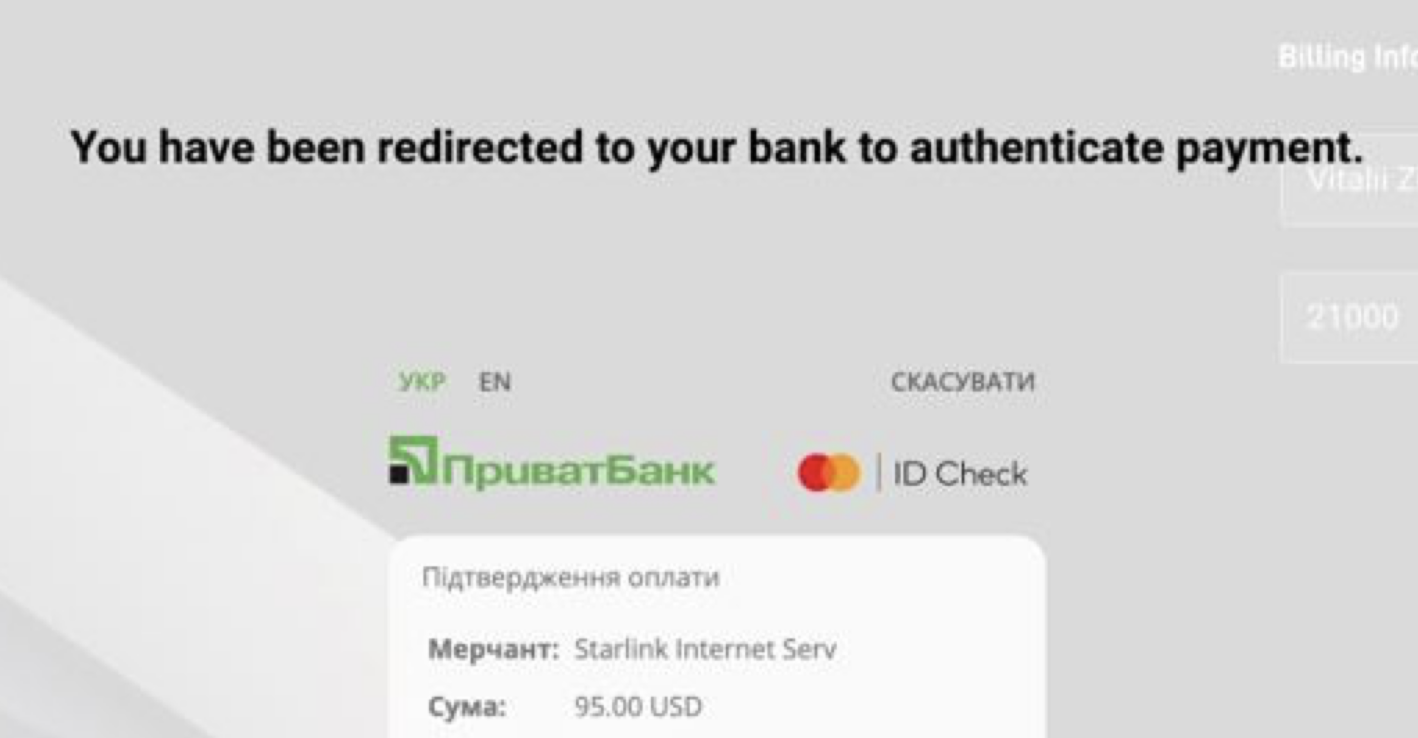
In the request, it will be written about an attempt to write off 95 USD.
- Advice. Send access passwords to a trusted person, and write a contact phone number on the equipment.
- Turn on your Starlink terminal and wait about 15 minutes.
- If you have done all the steps correctly, the terminal will switch to ONLINE mode!
FAQ
- When entering the card number, an error occurs, stating that it is declined.
The card you provided is already linked to another Starlink account. Use a different card.
- Starlink's anti-fraud system may flag your bank card for various reasons. Try a card from a different bank.
- Temporary glitches from SpaceX may sometimes occur, and in such cases, waiting a few hours before the next attempt is recommended.
Be cautious; repeated attempts might result in a permanent ban.
- Device already assigned.
It appears that you received a terminal already assigned to an account. Contact your Starlink terminal seller. You may be provided with login credentials.
- Can I add another terminal to an existing Starlink account?
Yes, during the account selection step, choose "EXISTING ACCOUNT." The system will prompt for the login and password for access to this account. All other steps will remain the same.
- How many Starlink terminals can be added to one account?
Company rules allow adding up to three units to a single account (the previous limit was set at 10 units).
- Why is it better to register with the full serial number instead of the KIT number?
There is a slight chance of confusion with equipment, which occurs once in a few thousand terminals. This can happen on the manufacturer's side and also during order processing and delivery by logistics companies.Thank You!
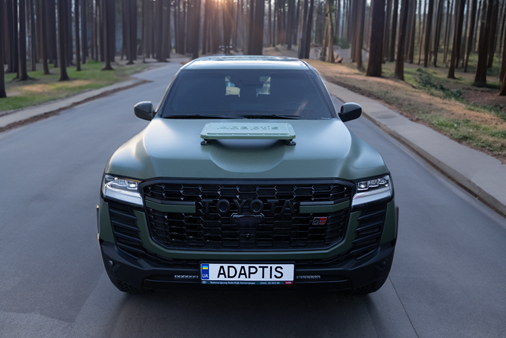
Adaptis — satellite communications for cars
MANUFACTURE AND HEADQUARTERS
Kyiv, Arkhitektora Verbytskoho st. 1phone
(073) 169-00-00email
welcome@adaptis.me